I’ve mounted bindings on every pair of skis I’ve owned since 2005. Every year I have a few people ask me for help mounting their bindings. Rather than write my process out several times a month, I’m going to record it here. Use it if you want to risk ruining your skis, this is on you.
Sure, there are little intricacies to it that matter to some people, but they don’t matter to me – I still slide down the hill like anyone else (plus or minus a number of crashes). The real difficulty to this is setting DIN’s and forward pressure correctly, which requires special tools that you and I don’t have. My official recommendation:
If you have a shop that will mount your bindings, have them do it.
Now let’s get started!
Tools You'll Need
Here’s an easy list.
That’s it. That’s really all you need.
1. Midsole Placement
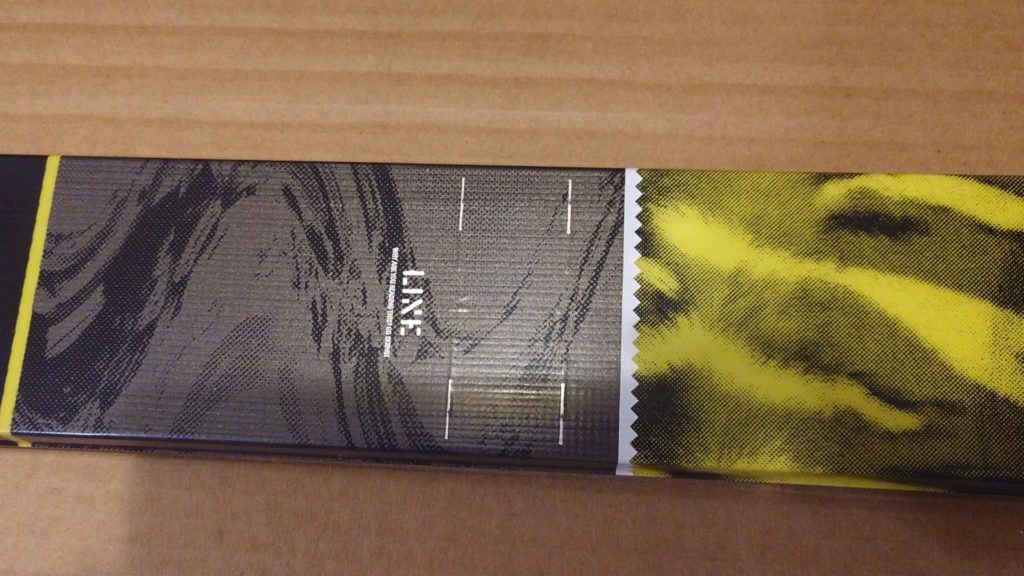
Choose where you want to center your bindings. Check out this thread on that. I mount on the center line for my park skis, and on the recommended midsole line for my powder skis. The two lines on this ski are appropriately labeled M (left) and C.
I’ve never had a ski that didn’t indicate a mount point, usually it’s a dimple or raised mark. Measure from the noses if you want to verify that they’re the same.
2. Mark & Drill the Toes
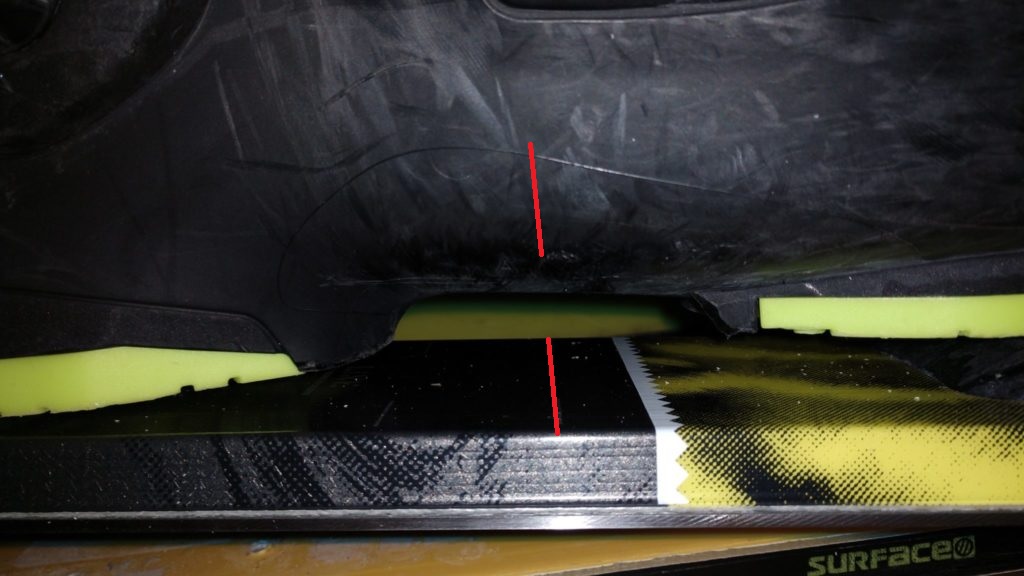 There’s a reference point on your boot for the center of the boot. Typically there’s a line on the side like this; mine is marked with an A.
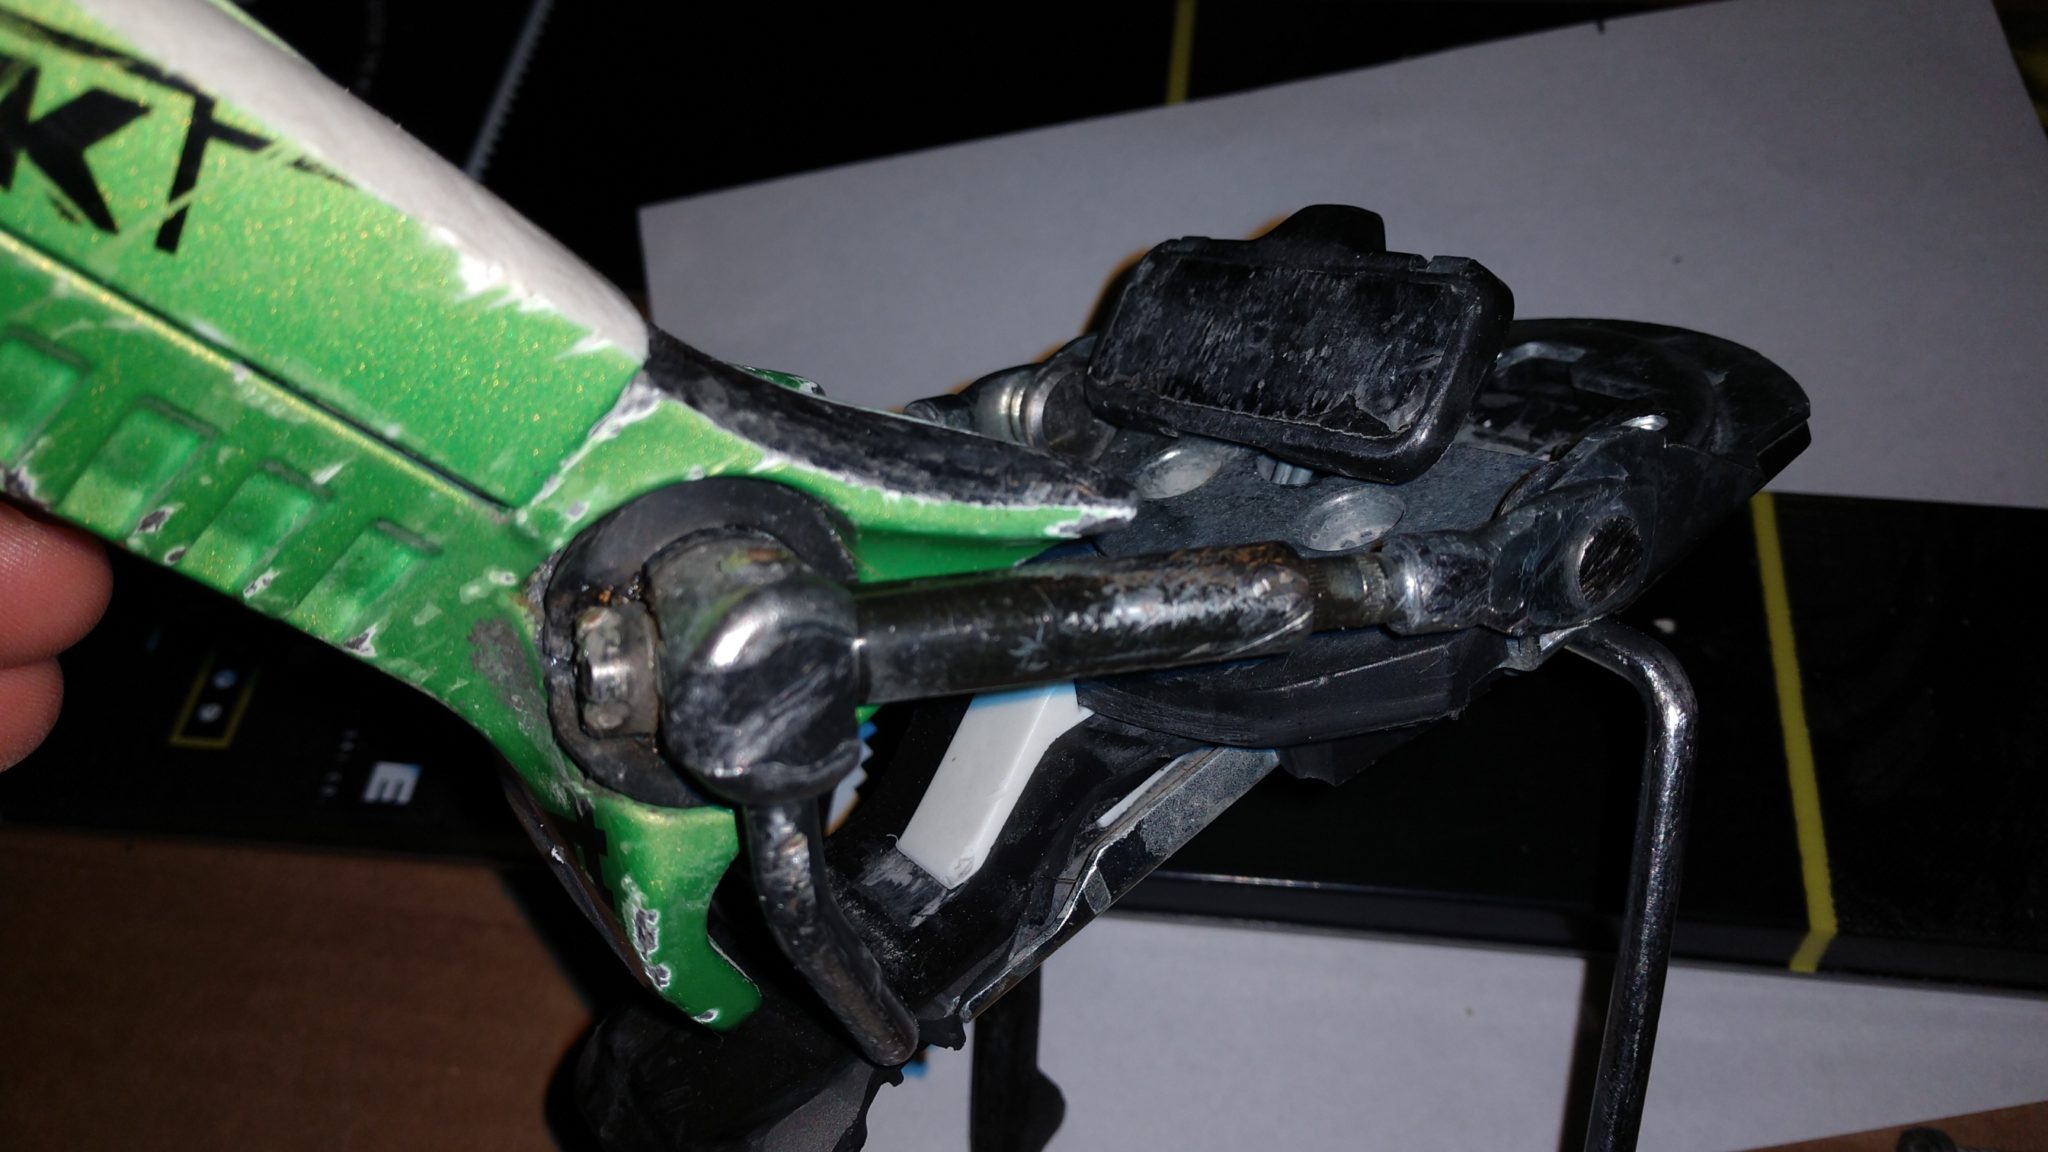
Put the toe piece on your ski, slip the boot into it, and slide the two around to line up those marks, and center the toe piece side-to-side.
3. Mark & Drill the Toe Holes
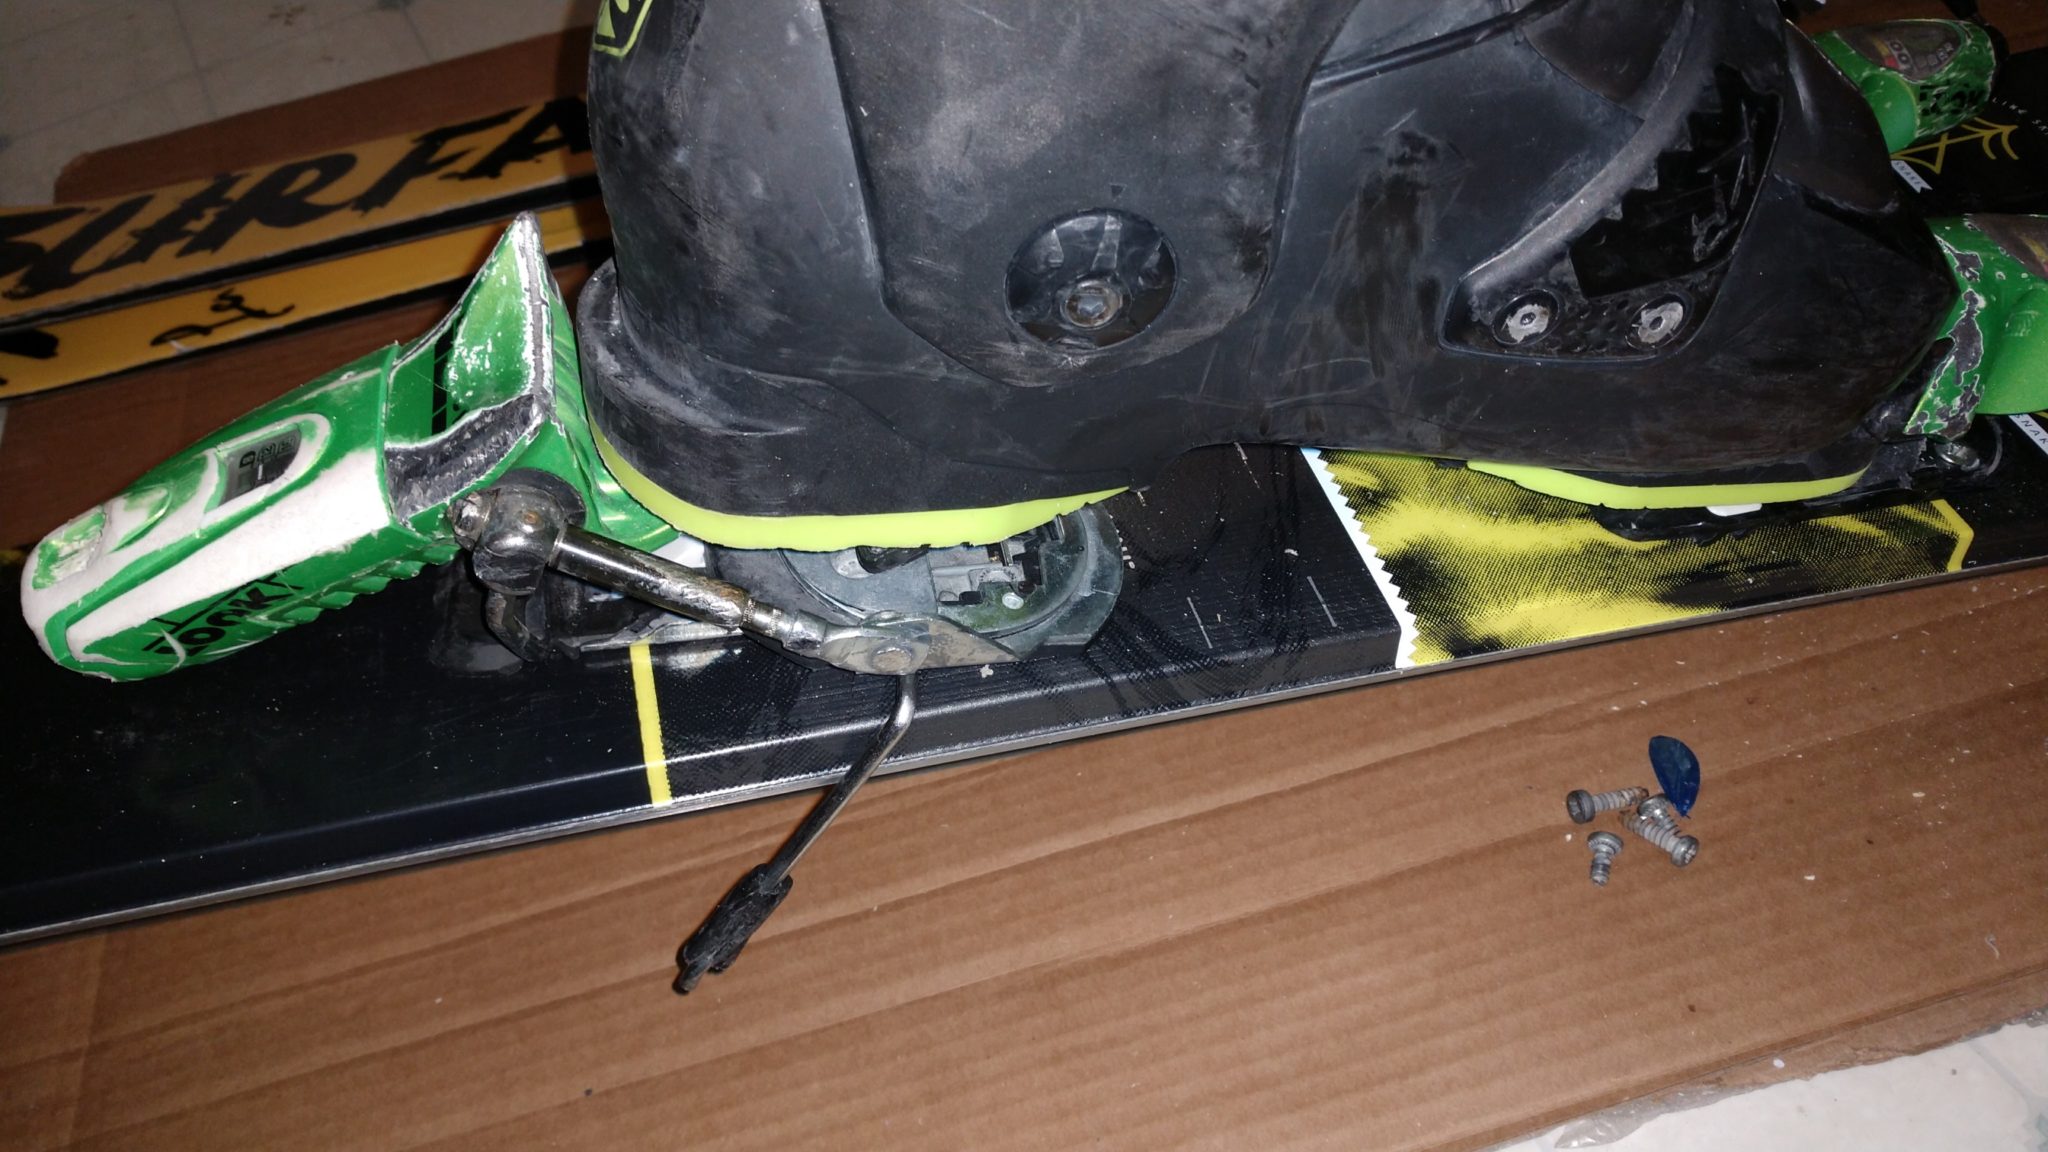
[rd_images_gallery images=”3111,3112″ size=”large” column=”ig_col_2″]Now firmly hold the toe piece, and remove your boot. Be like me and bump it a few times, so you can redo this part and get really good at it.
Take a sharpie, and mark the holes. Pivots are nice because you can pop the binding off the plastic base, and it’s easier to mark the front holes. Shout out to Look Pivots, for max flex and safer release, in my opinion. It’s a bombproof binding.
The depth is really important; the “3.5 x 9″ on the yellow ski is asking for a drill diameter of 3.5mm and a depth of 9mm, but check your ski to make sure your depth wont go past the top of the metal edge, but is long enough for the screw when it’s in your binding. Check out that tape wrapped around the bit to set the depth.
Now drill the holes you marked with the 9/64″ bit from that set (about 3.5mm).
Nice. Now you can start a screw into each of the holes, just to get the threads going. don’t go in very far, maybe just 3/16” or so. Pull the screws out, drop some waterproof glue in each hole, then screw the binding down.
3. Mark & Drill the Heel Piece
 Before you start the heel piece, turn your adjuster guys (whatever system you have) so it’s about in the middle.
On my Pivots, I go about so:
Now put the heel on the ski. It helps to have the ski up in the air, try putting down two stacks of textbooks (see, college is useful).
Slip your boot into the toe, scoot the heel into place under it – without clicking in – and once again hold it firmly while you pull the boot out.
 Now the process is about the same as the front. Mark, drill, screw & glue.
For pivots, I usually start with the front two heel screws, fully tighten the binding down, then mark the back two.
4. Forward Pressure
I’m not an expert on forward pressure or din settings, and this is a big reason to go to a shop. For Pivots, there is an indicator – the white tab slides back to a line when your boot is clicked in. You can adjust the two side bars to get there.
As for dins, google is a better resource than me. I’m 6’0″ 200lb, and my dins are at 11.
If you decide to go for it, good luck. Your two biggest chances to screw up are poorly marking the holes so the screws don’t line up, or putting a toe or heel crooked. Go slow, and catch me ousside