Foreword
This handbook/blog is a mix of what we’ve learned with our friends from various park crews, aimed at other park crews without much experience. Plenty of managers are stuck with a small quiver of rusty junk and don’t have the time, help, or money to build anything new, much less buy an entire feature. This is an opinion article, it’s not the law and you shouldn’t trust it 100%. Use a real professional. We sell gloves.
If you have input, leave a comment or email [email protected]. We’re trying to help park crews make better rails so people have more fun.
Constraints
Don’t get stressed trying to build wildly crazy looking rails. Every park should have a few straight rails – set them up flat, down, up, or put two in a row. Without these basics the park will actually be worse off so build the easy ones first. In reality, you’re going to build based off what material you have. Big pipe, little pipe, square tubing, etc – all have their own “best uses” and limits.
How much material do you have?
Anything can be a flat feature or a bonk. Beginner parks can get away with a 6-foot rail to learn on, but a full park rail probably should be at least 20 feet long or it’s going to be ignored. If you only have a little, aim for a flat bar, maybe with a donkey (short up section at the end), or any variation of angle/drop/step-down in the middle – again, try to hit 20 feet minimum for any shaped rail.
What shape is the material?
Square tubing should only be used for up/down changes, not to the sides like an elbow. Think battleships, flat-downs, A-frames. They’re easy to balance on, so they’re better off in beginner parks. To bump it up to a higher skill level, you could make it a drop rail or just a 30-40 foot long flat bar.
Round pipe is very trickable. Bigger than 10″ is called a tube, which are more like a grippable box than a rail. We don’t need to get crazy with tube shapes, I don’t know a single person who’s upset by having a straight 30′ tube in their park at all times, and you can even have a lot of fun with a 10′ tube.
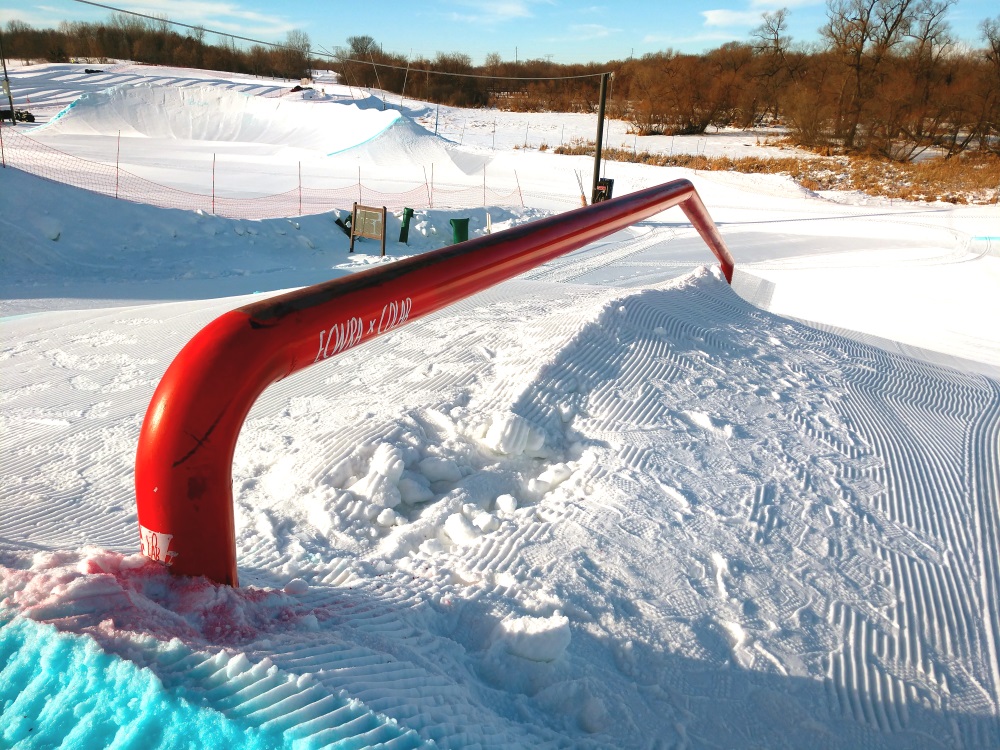
The most versatile pipe is 4″ to 6″ schedule 40. You can get it rolled, bent, easily cut and weld it into angles, etc. Any direction change works well, any length. Recall that our preferred minimum is 2″ tubing.
Picking Length, Angles and Curves
How big should it be?
It’s better to have a too-easy rail than an unusable one. Here’s a rule you can live by:
“It always looks bigger in the shop.”
-some guy online
It also looks way easier in the shop! Standing next to a new feature, it’s going to seem way too long and way too mellow. Then once it’s planted, all those angles and feet of pipe are super aggressive.
Your favorite features are probably 25-30 feet long (it doesn’t feel long until you’re closer to 40 feet). Also notice the individual lengths of each flat or down on a kink. If it’s 3 feet long, it’s more of a bump than a ride-able pipe. The Mt Ski Gull’s Quad was 12′ down sections with 4′ flats (12-4-12-4-12), giving an overall length of something like 42 feet.
Choosing Angles/Curves
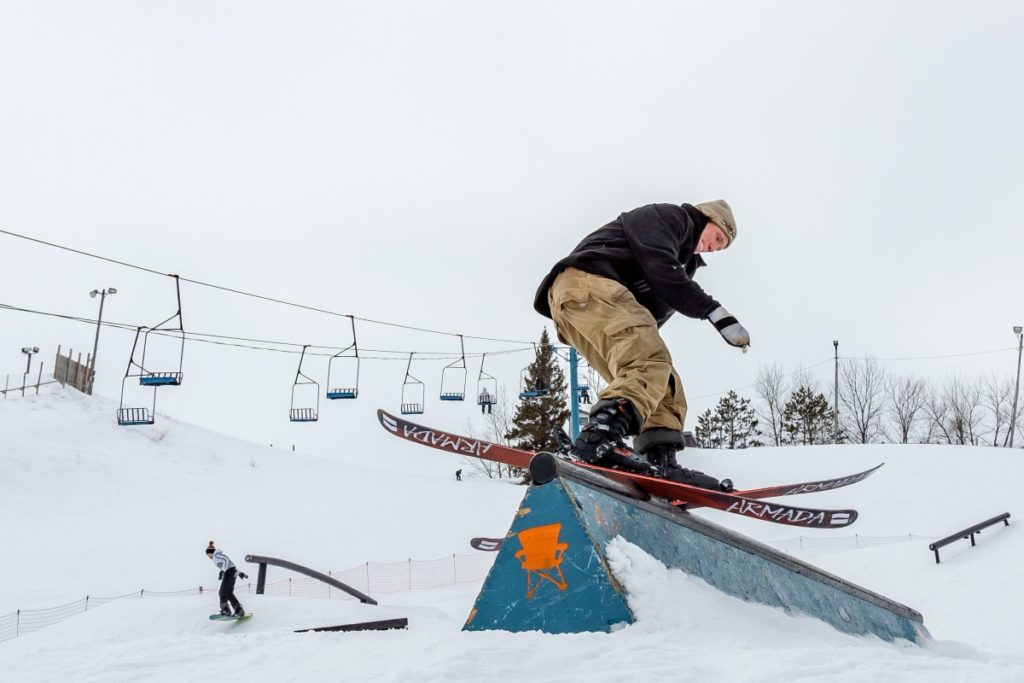
Use 15 degrees as your maximum angle change. We’re often between 10-12. Ski Gull’s quad (above) is 12 degree, Elm Creek’s Flat-Down that we sponsored (see below) is a 15 degree change.
Drawing
To start off, just make a pencil sketch so you and any helpers will understand the same plan.
Start with the slide surface with its length, then add legs. If your legs are set with 48″ between them, you can cut strips out of a 4×8 sheet of plywood for skirting.
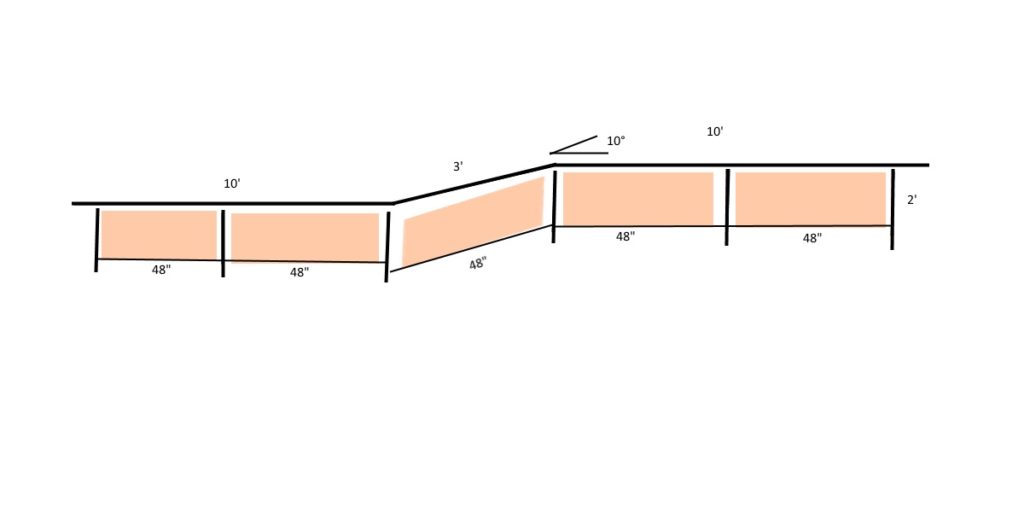
This rail could be cranked out in a day, minus the paint. Say you used 3″ pipe up top, 3″ legs, and 1.5″ tubing along the bottom of the skirts which we’ll say are 18″ tall. Now the only problems to solve are making the center parallelogram piece (just trace the shape onto the wood if you’re nervous), fork pockets if you wanted them, and tabs to hold the skirts on. It seems hard, but it’s not too difficult. If your resort’s liability covers it (most do, but double check), you should be able to hire an experienced welder and build some really nice stuff.
Great Insight! Simple and easy to understand.